KI-Beratung Beta

Gutscheinbedingungen

*Gültig bis 06.10.2026 auf alle Bücher. Ausgeschlossen sind Zeitschriften, Prozentbücher und Abos | Einlösbar in allen Buchhandlungen von Orell Füssli (ausser Transa Books), Barth Bücher, Buchladen Rapunzel, Papeterie Köhler, Schuler Orell Füssli, Stauffacher und ZAP unter Vorweisung des Gutscheins, auf www.orellfüssli.ch durch Eingabe des Gutscheincodes. Beim Service „eBooks verschenken“ und bei eBook-Käufen via eReader nicht einlösbar | Mindesteinkaufswert: Fr. 30.- | Nicht mit anderen Rabatten kumulierbar.

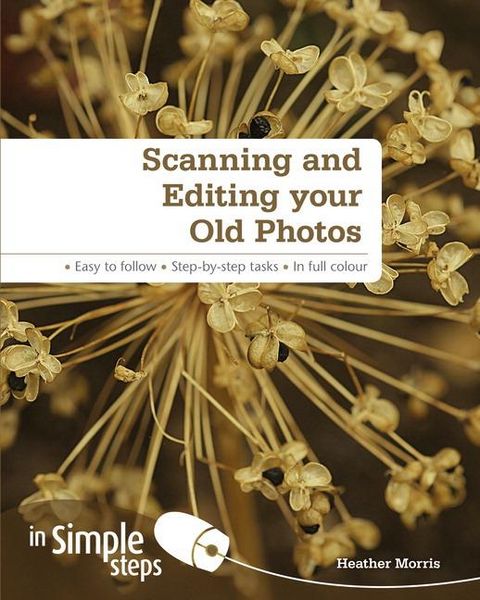
Produktbild: Scanning and Editing your Old Photos in Simple Steps

Scanning and Editing your Old Photos in Simple Steps

Fr. 15.90

inkl. gesetzl. MwSt., zzgl. Versandkosten


  • Kostenlose Lieferung ab Fr. 30 Einkaufswert

    Schweiz & Liechtenstein:

    Versandkostenfrei ab Fr. 30.00
    Versandkosten bis Fr. 30.00: Fr. 3.50

    Andere Lieferländer

    Fr. 18.00 unabhängig vom Warenwert

Beschreibung

Produktdetails

Einband

Taschenbuch

Erscheinungsdatum

08.12.2011

Abbildungen

col. Illustrations

Verlag

Prentice Hall

Seitenzahl

208

Maße (L/B/H)

18.7/23.4/1.4 cm

Gewicht

360 g

Auflage

1. Auflage

Sprache

Englisch

ISBN

978-0-273-76259-1

Beschreibung

Produktdetails

Einband

Taschenbuch

Erscheinungsdatum

08.12.2011

Abbildungen

col. Illustrations

Verlag

Prentice Hall

Seitenzahl

208

Maße (L/B/H)

18.7/23.4/1.4 cm

Gewicht

360 g

Auflage

1. Auflage

Sprache

Englisch

ISBN

978-0-273-76259-1

Noch keine Bewertungen vorhanden

Verfassen Sie die erste Bewertung zu diesem Artikel

Helfen Sie anderen Kundinnen und Kunden durch Ihre Meinung.

Kundinnen und Kunden meinen

Bewertungen (0)

  • Produktbild: Scanning and Editing your Old Photos in Simple Steps
  • Top Ten Tips

    a)     Tip 1: Determine your scanning needs

    b)     Tip 2: Understand image resolution

    c)     Tip 3: Clean your scanner

    d)     Tip 4: Understand file formats

    e)     Tip 5: Preview your image

    f)       Tip 6: Use automatic adjustments

    g)     Tip 7: Remove red-eye

    h)     Tip 8: Adjust colour saturation

    i)        Tip 9: Repair damage with the healing brush

    j)       Tip 10: Archive images to disc

    1. Choose Your Scanner and Editing Software

    a)     Determine your scanning needs      

    b)     Review your computer’s minimum resources

    c)     Understand image resolution

    d)     Explore scanner types

    e)     Consider how much editing you’ll need to do

    f)       Know what to do if you don’t have a computer

    g)     Purchase and install scanner

    h)     See what your scanner software offers

    i)        Compare free options

    j)       Compare low-cost software

    k)      Purchase and install the software

    2. Perform a Simple Scan

    a)     Clean your scanner

    b)     Clean your printed photo

    c)     Start your scanner

    d)     Place the photo appropriately

    e)     Preview your scan on a flatbed scanner

    f)       Perform a quick scan with your flatbed

    g)     Use Windows Fax and Scan

    h)     Connect your stand alone scanner to your computer

    i)        Perform a quick scan with your stand alone and your computer

    j)       Save your scan

    k)      Understand file formats

    3. Adjust scan results using your scanner

    a)     Preview your image

    b)     Apply dust removal

    c)     Apply color restoration

    d)     Fix backlighting

    e)     Adjust brightness and contrast

    f)       Adjust image resolution

    g)     Enlarge your image

    h)     Change the orientation of the image

    4.Adjust Results with Editing Software

    a)     Open your scanned image in editing software

    b)     Use automatic adjustment

    c)     Rotate your image

    d)     Crop your scanned image

    e)     Straighten your image

    f)       Remove Red eye

    g)     Repair torn or blemished images with the clone tool

    h)     Adjust brightness and contrast

    i)        Adjust colour saturation

    j)       Increase the size of your image

    k)      Frame your scanned image

    5. Scan Slides and Film with an adapted flatbed scanner

    a)     Adapt your scanner

    b)     Place your negative film

    c)     Place your film holder in the scanner

    d)     Preview your images